Setup React-Native-Maps in iOS with Google Maps in React Native 0.60+
Learn how to install the react-native-maps package in iOS complete with the Google Maps integration for React Native v0.60+ in this step-by-step introductory guide.
Tested on React Native 0.60.5.
The react-native-maps docs mention that they only support the latest version of React Native:
Due to the rapid changes being made in the React Native ecosystem, we are not officially going to support this module on anything but the latest version of React Native.
However, the React Native ecosystem can be fragile, and newer versions can result in breaking changes to other dependencies.
So the workaround here is explicitly configuring a version of react-native-maps that has been shown to work in older versions. Stability over features.
Note that this guide only focuses on the react-native-maps iOS integrations for React Native versions beyond v0.60.
Let's get to it.
Step 0: Rebuild
If you ever run into any errors, first try rebuilding the project.
Run this after installing any new npm package.
- Stop Metro (terminal)
- Exit simulator
- Run script
If the application is not building on your physical device, try cleaning the build folder in Xcode located in Product -> Clean Build Folder.
Step 1: react-native init
In my case, I chose to initialize the typescript template of the project for v0.60.5.
cd into the project.
Step 2: react-native-maps
Step 3: Setup Google Cloud
Prerequisites:
- Before you can start using the Google Maps Platform APIs and SDKs, you must sign up and create a billing account!
- Make sure that the
Maps SDK for iOSis enabled in your Google Project!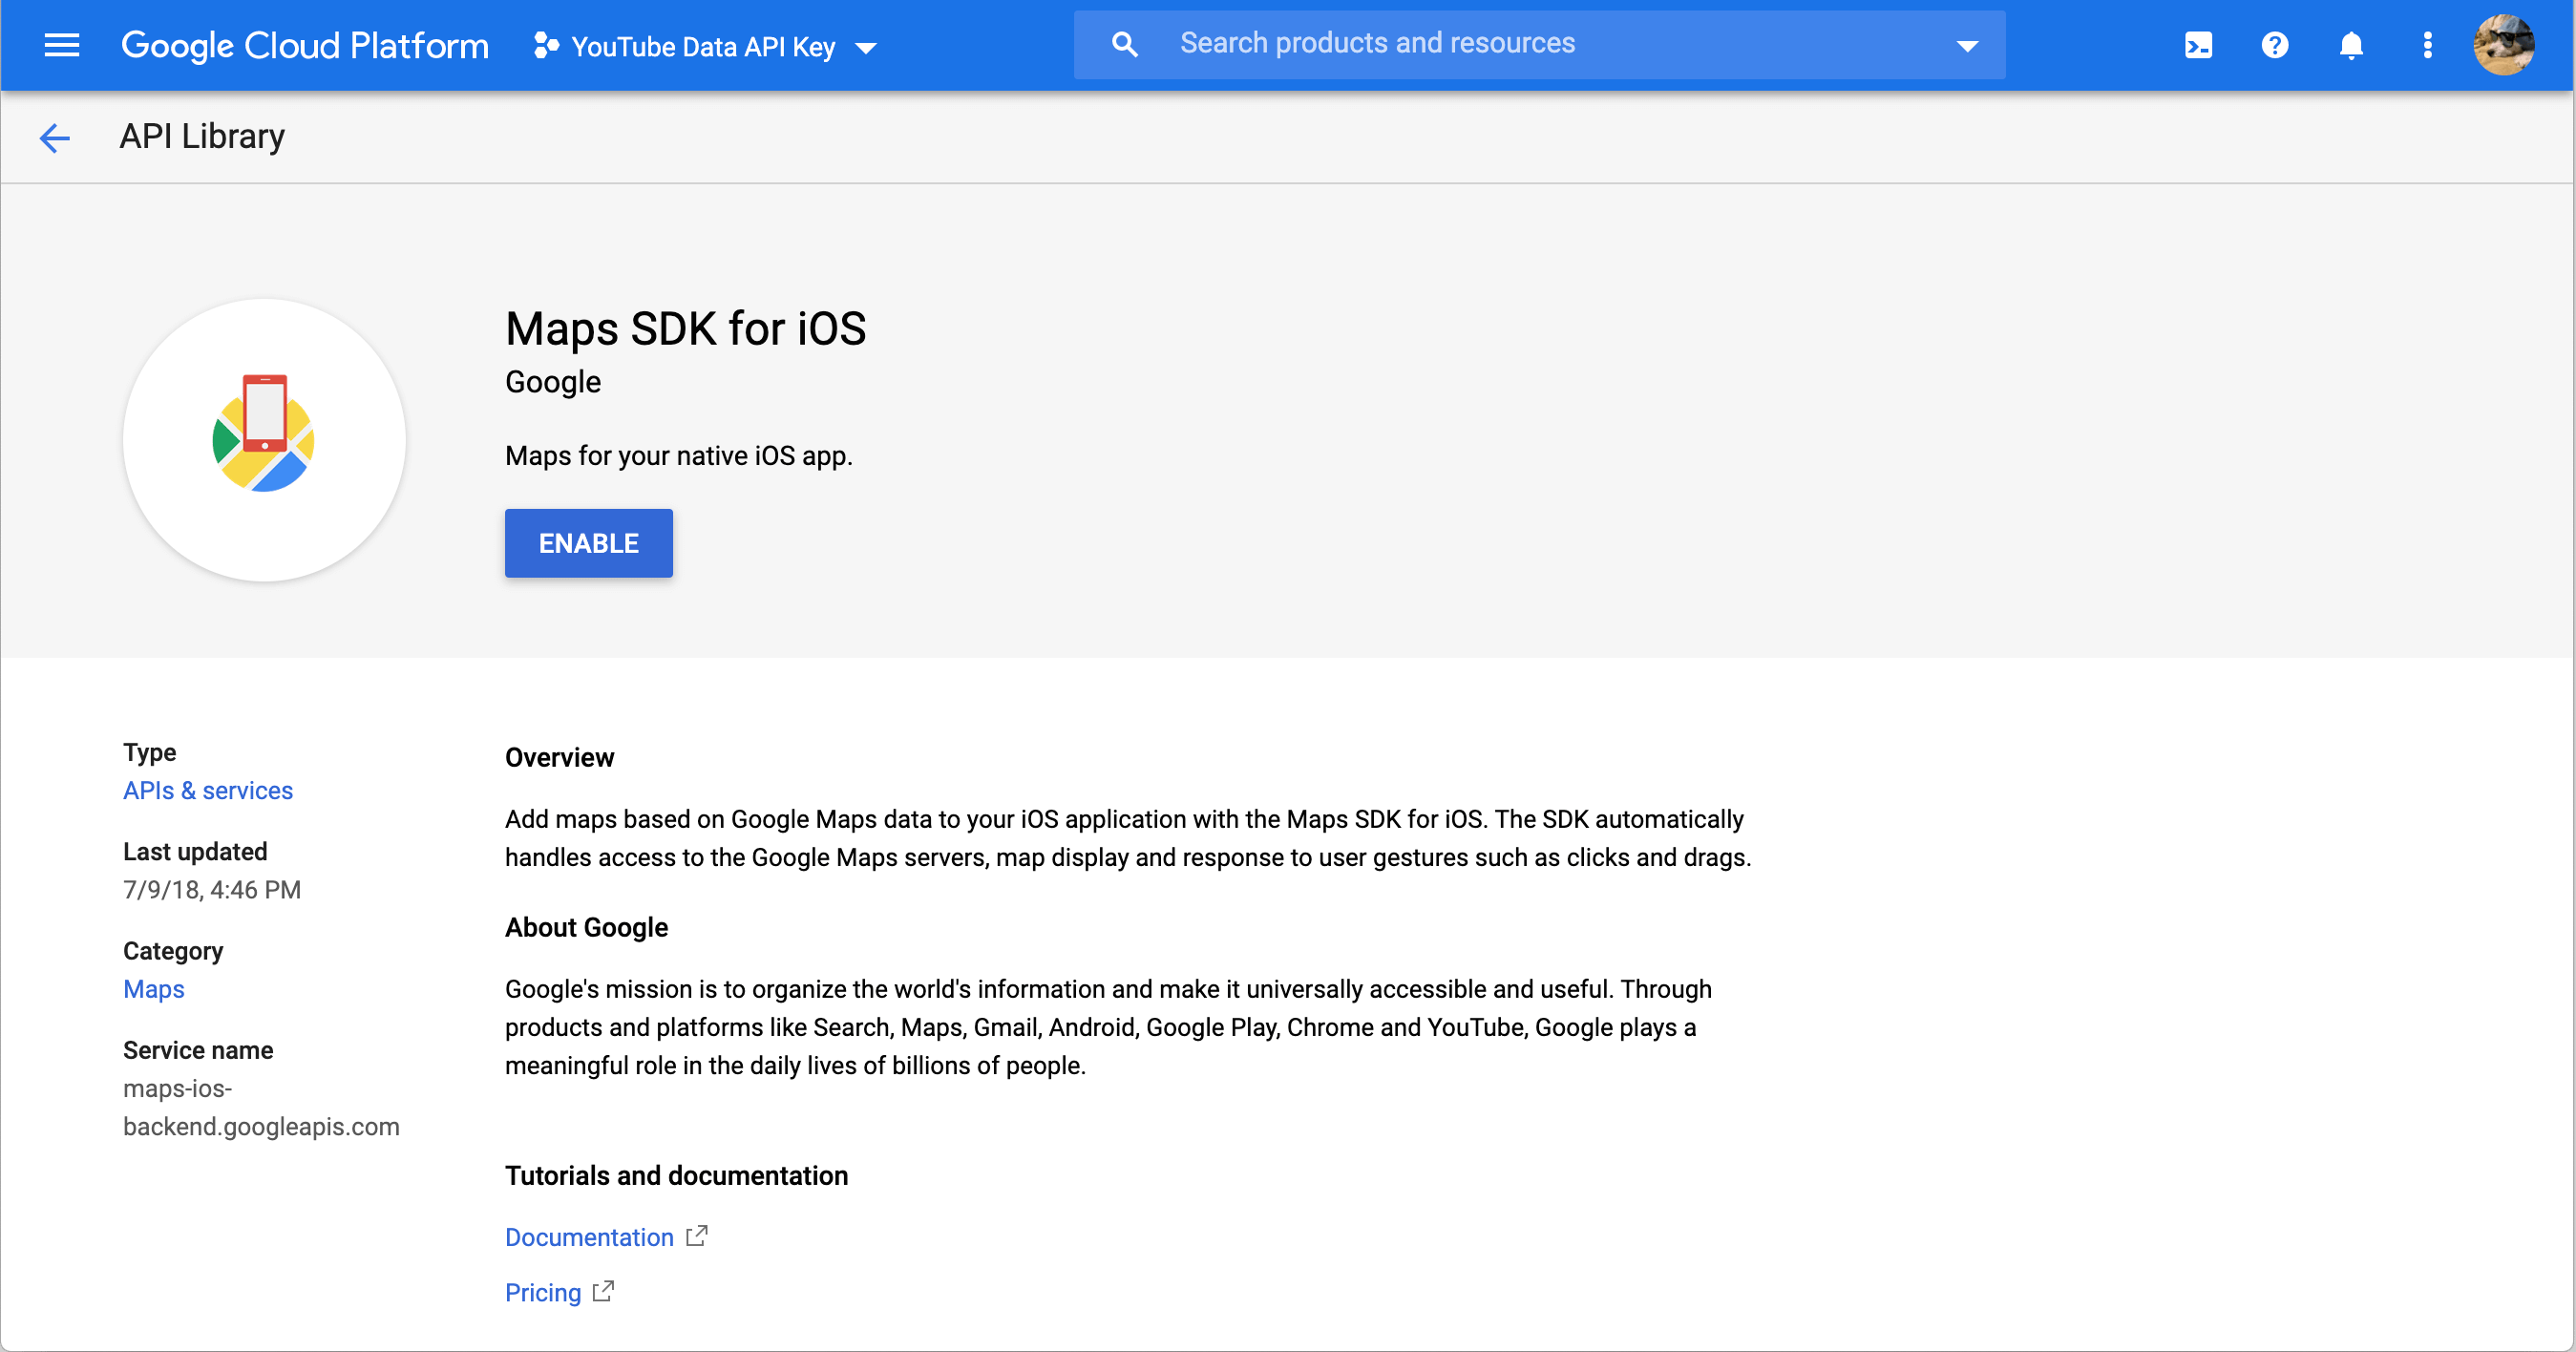
- Create an API key.
Note that it is possible to create an API key before enabling the Maps SDK for iOS. This will cause the map to show as blank. So, make sure to enable the SDK beforehand.
Step 4: Alter ./ios/MyApp/AppDelegate.m
Note the highlighted lines. Those are the lines that you have to add.
Step 5: Alter ./ios/Podfile
Note the highlighted lines. Those are the lines that you have to add.
Step 6: Rebuild and Run
- Stop Metro (terminal)
- Exit simulator
- Run script
After running the script, the application should load without errors.
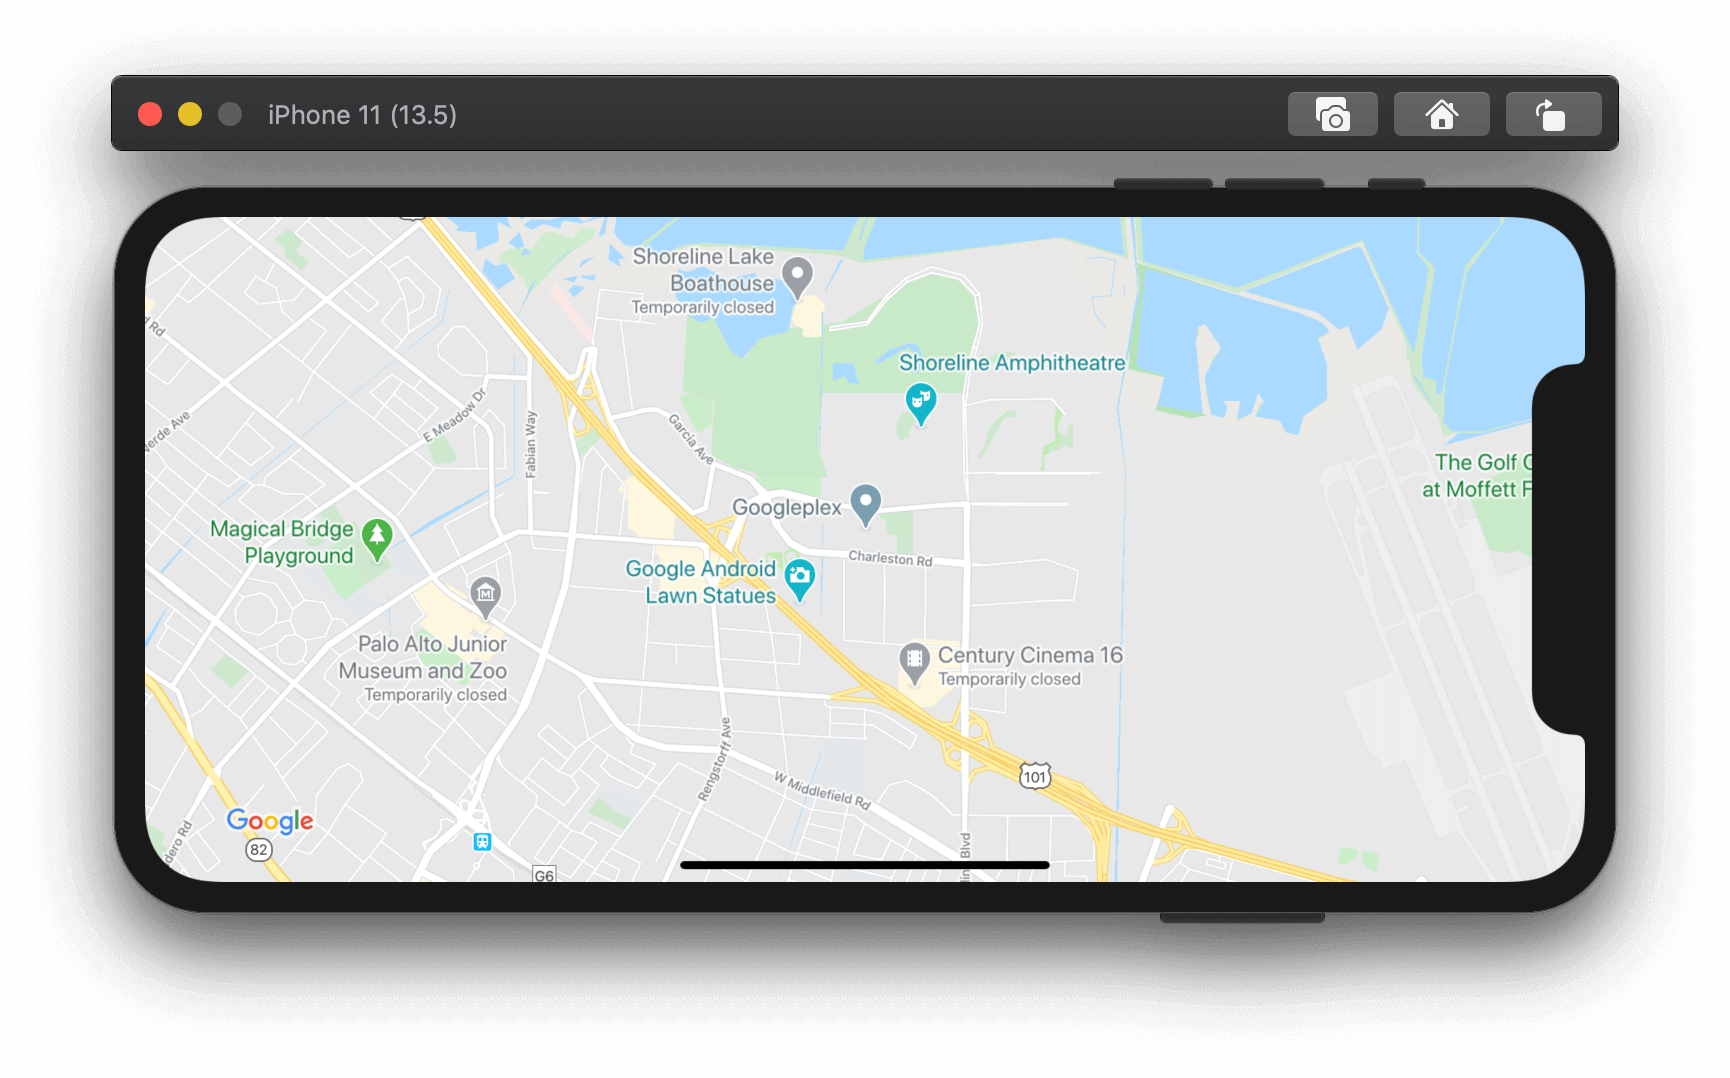
Step 7: Test Installation with a MapView
To test the installation, try replacing the contents of ./App.tsx with this example code:
You should see a result similar to this (except vertical):
Thanks for reading, I hope you found this helpful.